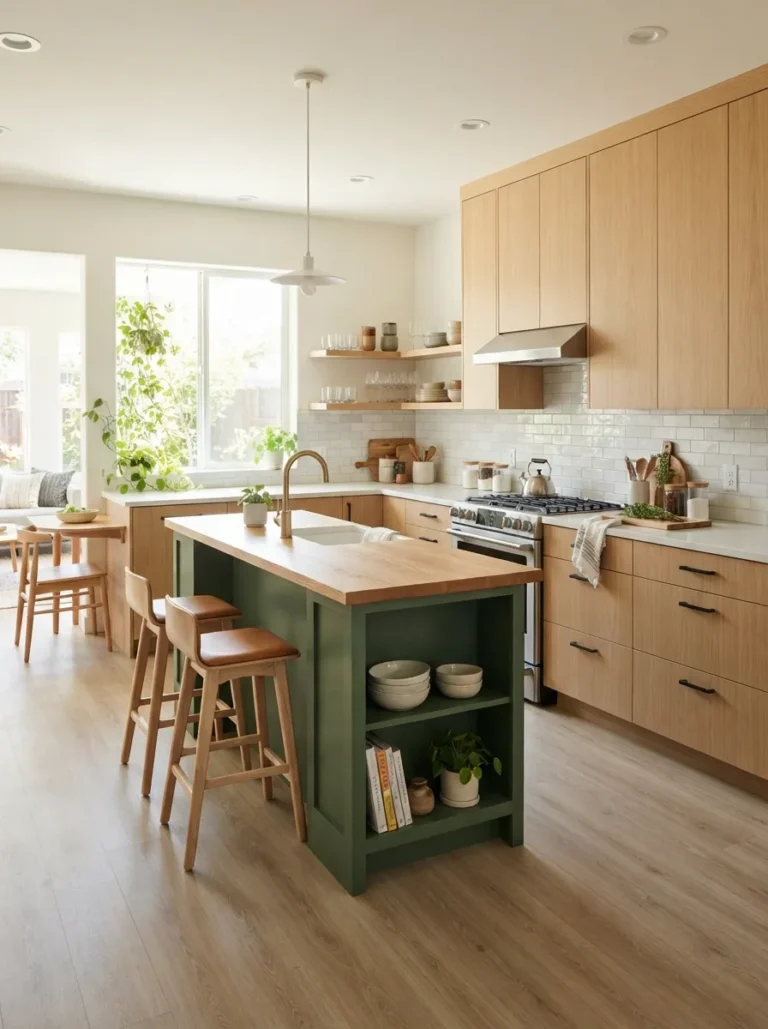
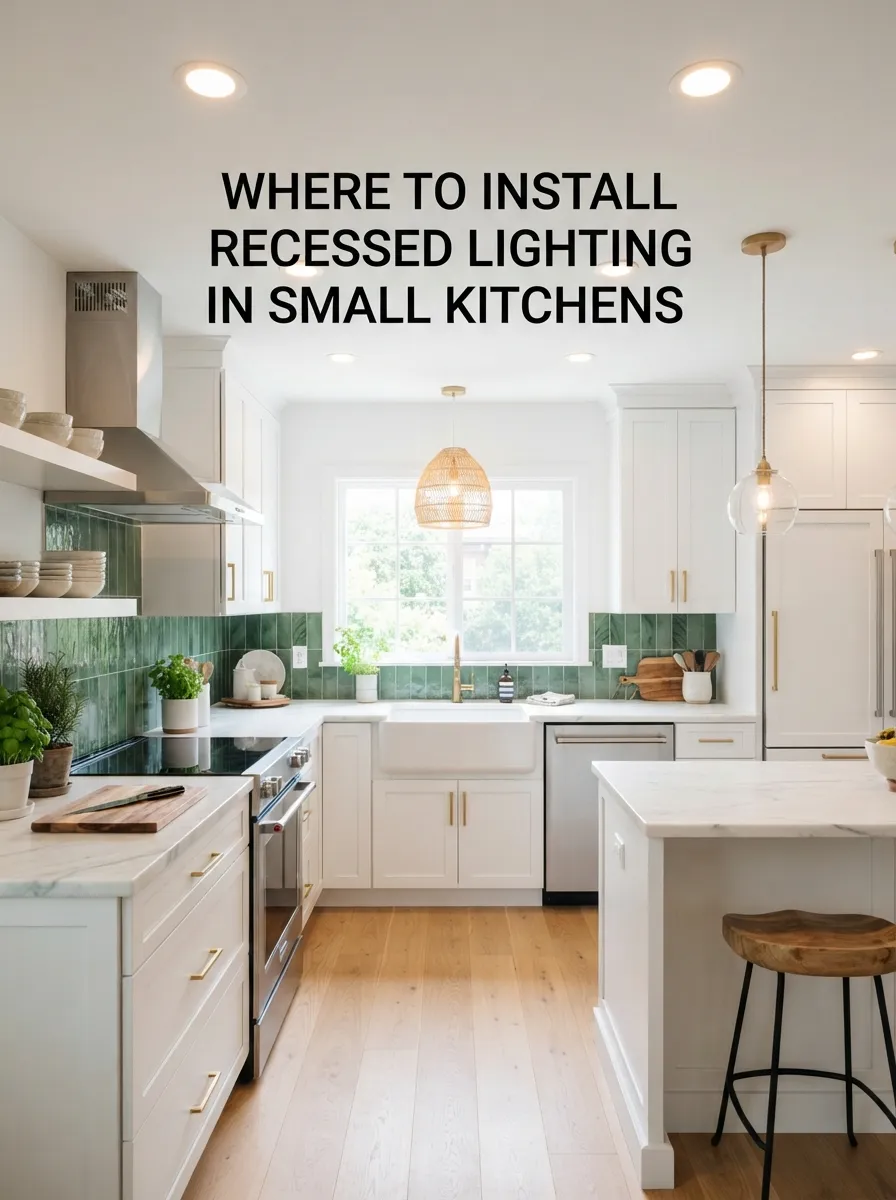
Where to Install Recessed Lighting in Small Kitchens
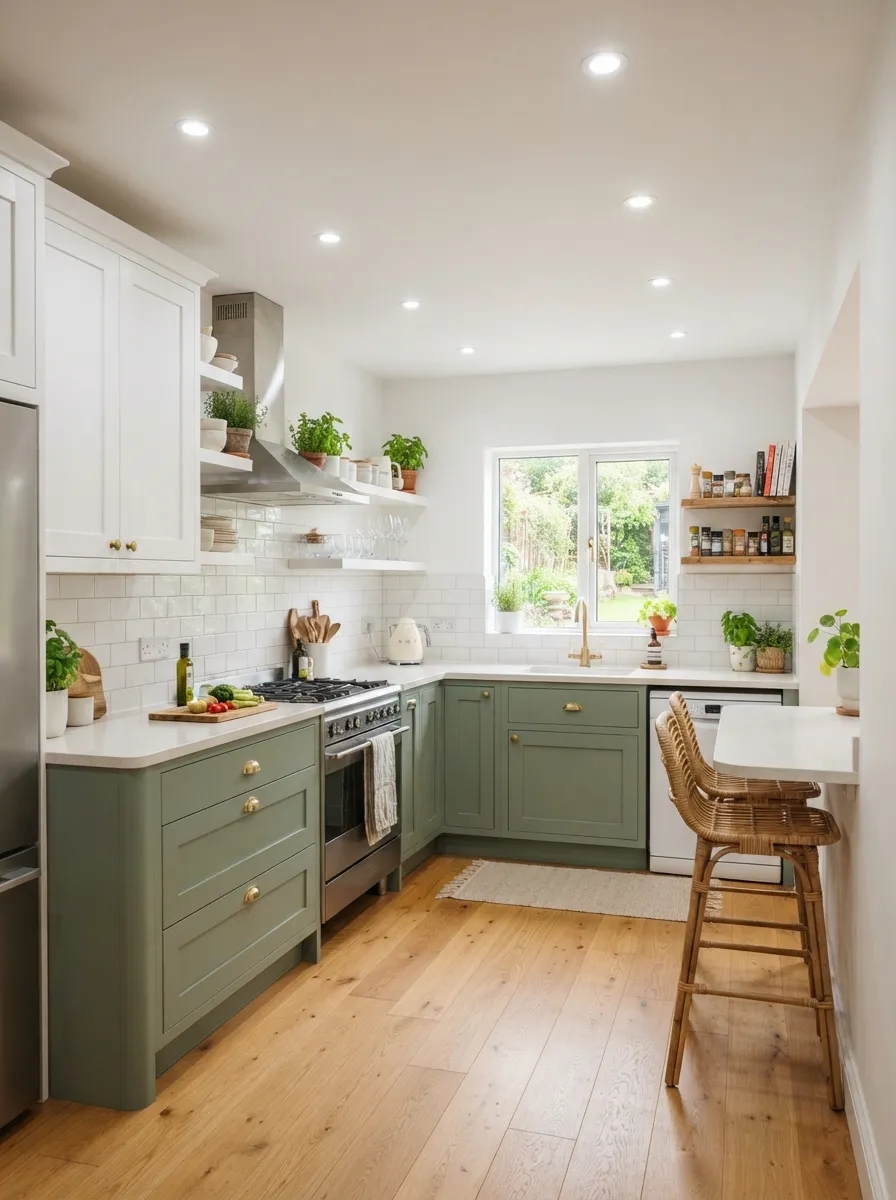
Recessed lighting is one of the most effective ways to brighten a small kitchen without adding visual clutter to an already tight ceiling, but placement matters more than most people expect. Get the spacing and zone coverage wrong and you end up with shadowy countertops despite a fully lit ceiling — here’s exactly where to install recessed lighting in a small kitchen for even, functional light.
💡 Quick Takeaways
- Recessed cans should sit roughly 24-30 inches from the wall, not centered over the counter edge, to avoid shadowing the workspace.
- General spacing rule: divide the ceiling height by two to estimate distance between fixtures.
- Recessed lighting alone isn’t enough — task lighting under cabinets fills in shadows recessed cans can’t reach.
- Wet-rated fixtures are required above sinks and any area exposed to moisture.
- Dimmable recessed lighting lets one fixture layout serve both task and ambient lighting needs.
In This Post
1. General Spacing Rules for Small Kitchens
Recessed lighting spacing follows a simple rule of thumb: divide the ceiling height by two to estimate the ideal distance between fixtures. On a standard 8-foot kitchen ceiling, that puts fixtures roughly 4 feet apart, though a small kitchen’s compact footprint often means only 2-4 fixtures total rather than a full grid.
- Standard 8-foot ceiling: Space fixtures about 4 feet apart center to center.
- Distance from walls: Keep the first row of fixtures roughly half the fixture spacing away from the wall, typically 24-30 inches.
- Avoid centering over the counter edge. A fixture placed directly above the counter’s front edge casts your own shadow onto the workspace as you stand at the counter.
2. Placement by Kitchen Zone
Different areas of a small kitchen have different lighting needs, so placement should follow function rather than a uniform grid.
- Over the sink: A single fixture centered above the sink, using a wet-rated trim, handles this task-heavy zone directly.
- Over the main counter run: Fixtures spaced 24-30 inches from the wall illuminate the counter without the installer standing directly in their own shadow.
- Over an island or peninsula: Recessed cans work well alongside pendant lighting here, providing ambient fill while pendants handle the task-focused glow.
- In walkways and open floor areas: Wider, evenly spaced fixtures maintain general visibility without needing task-level brightness.
- Near the range: A fixture just to the side of the hood (never directly above an open flame) supplements the range hood’s built-in light.
3. Where Not to Place Recessed Lights
A few placement mistakes show up repeatedly in small kitchen remodels, and they’re straightforward to avoid with some planning before installation.
- Directly above upper cabinets. This wastes light on the cabinet face instead of the counter below.
- Too close to a wall. Fixtures placed less than 18 inches from a wall create harsh scalloping on the wall surface rather than usable ambient light.
- Directly in line with the counter’s front edge rather than set back toward the wall, which shadows the exact surface you need lit.
- Non-wet-rated fixtures above a sink or any area prone to steam and splashing.
- Too few fixtures spread too far apart, leaving dark gaps between light pools in a compact room.
4. Pairing Recessed Lighting With Task Lighting
Recessed lighting alone rarely provides enough direct light on the counter surface, since fixtures set back from the wall to avoid shadowing also sit farther from the actual work area. This connects directly to broader electrical planning for a small kitchen.
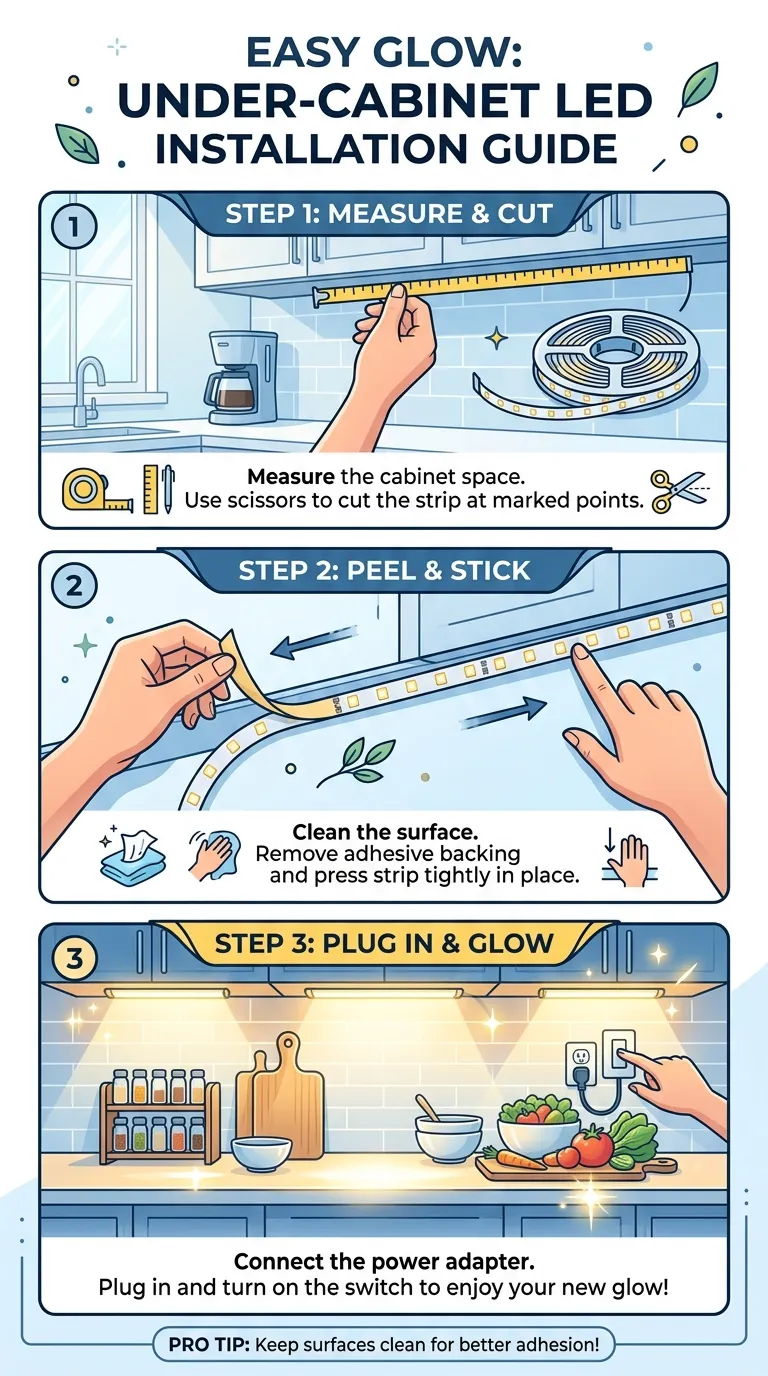
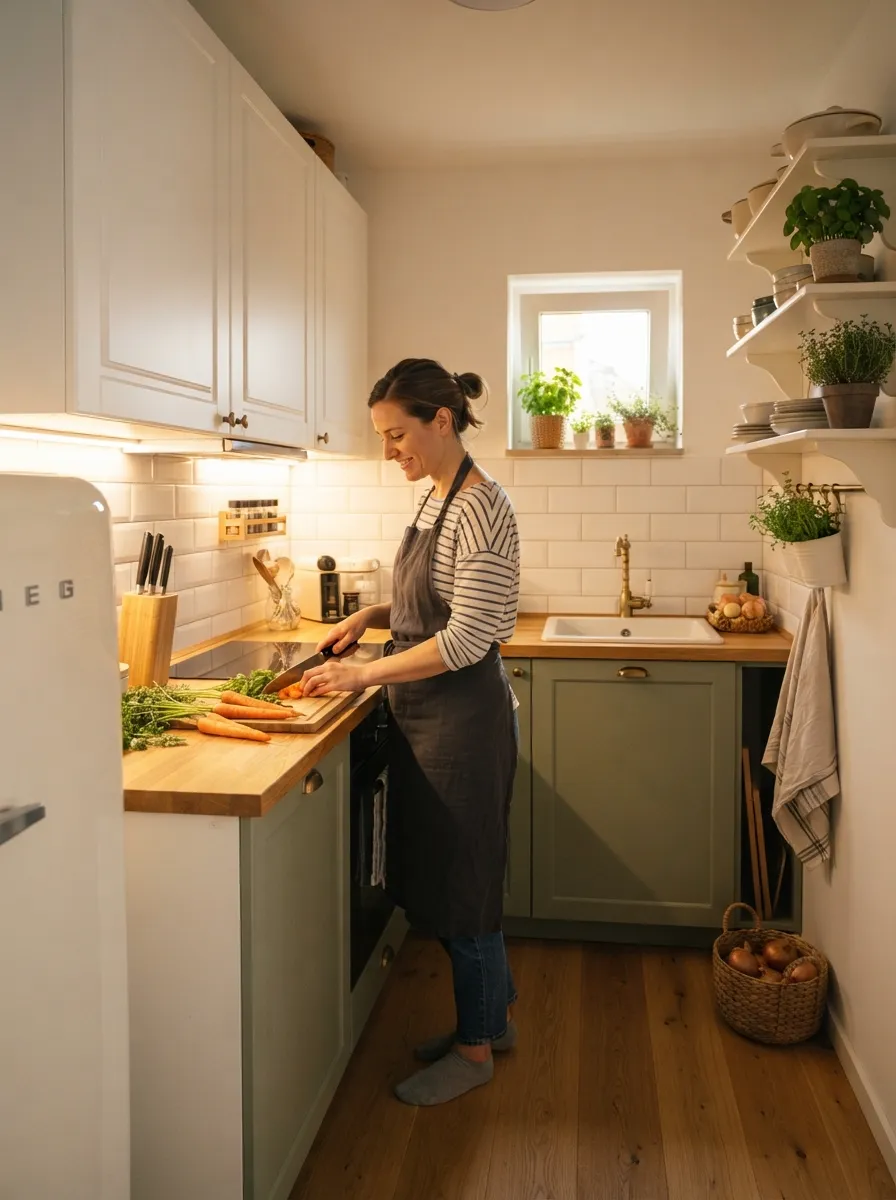
- Under-cabinet LED strips fill the shadow gap recessed lighting alone can’t reach, illuminating the counter directly beneath upper cabinets.
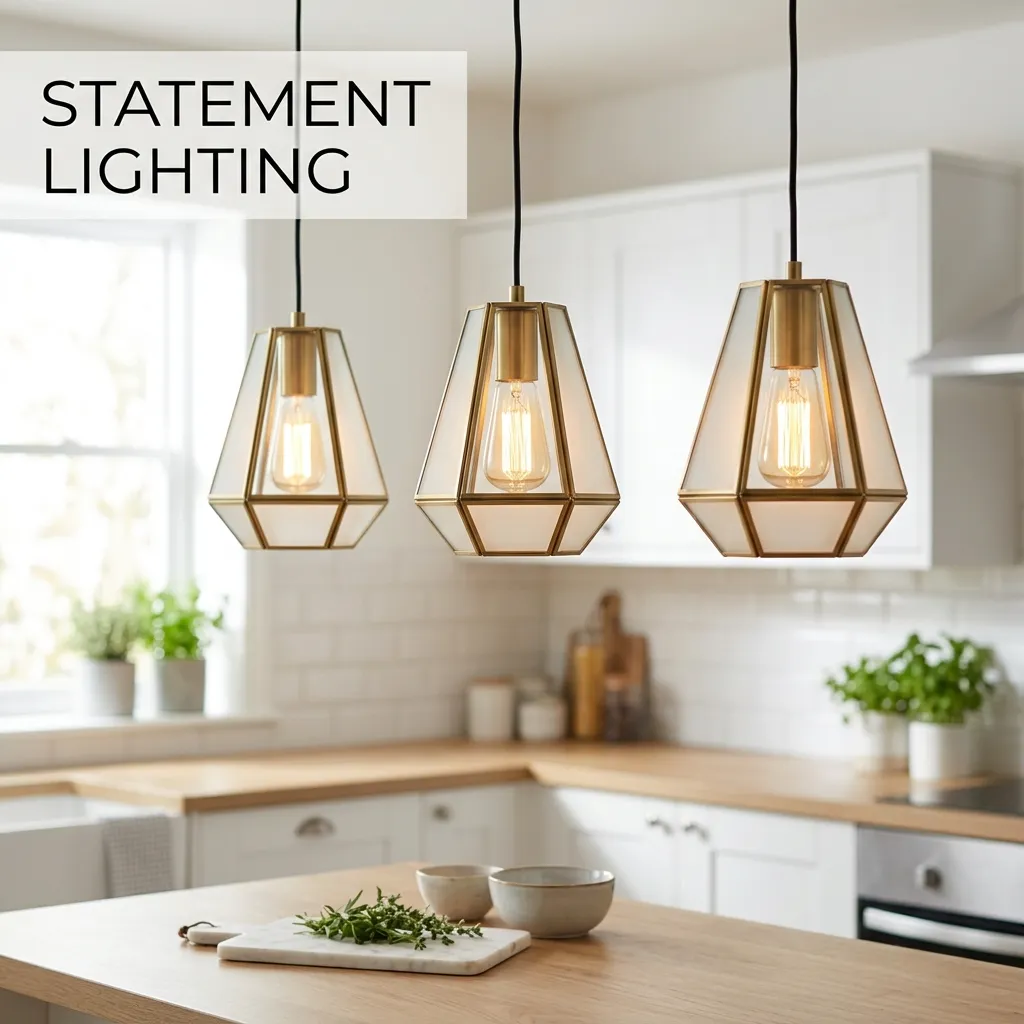
- Pendant lighting over an island adds focused task light exactly where prep happens, layered on top of ambient recessed coverage.
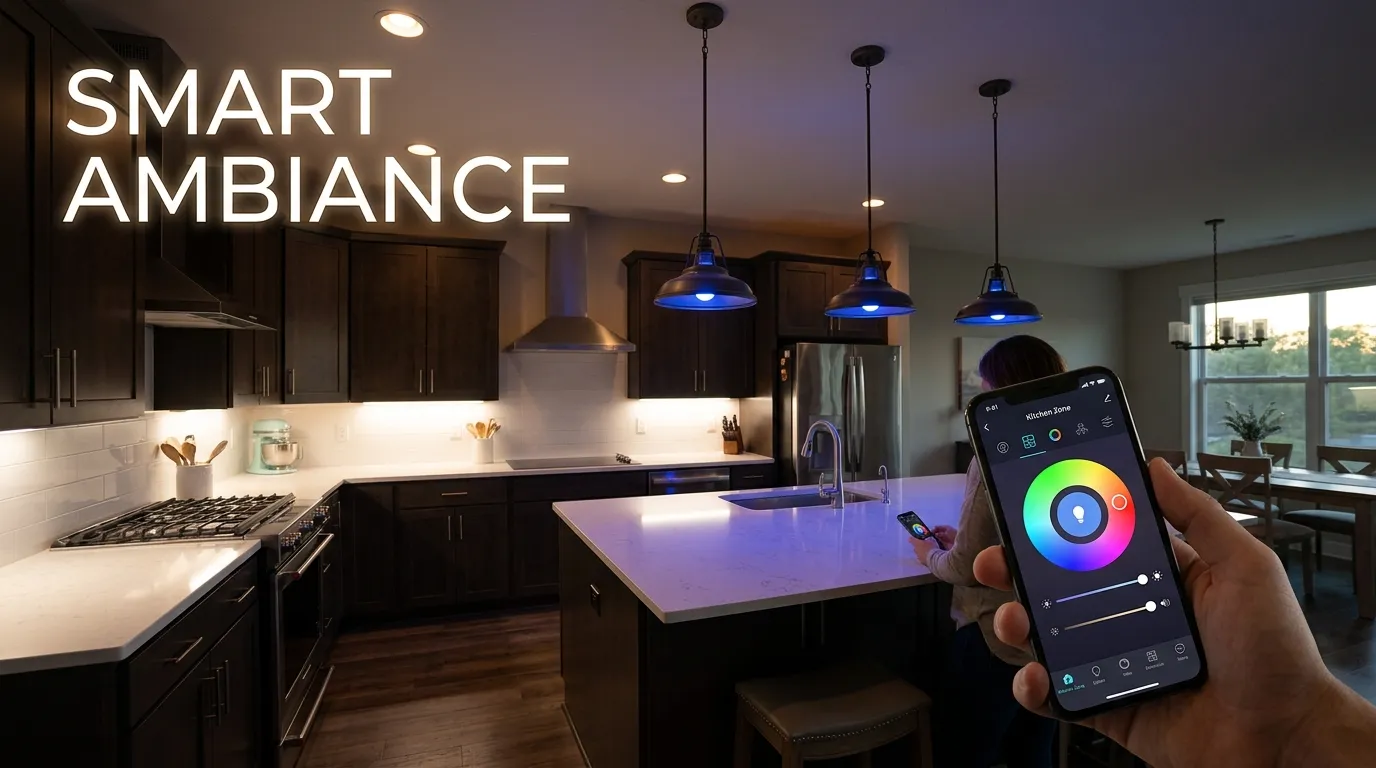
- A dedicated switch or dimmer for each layer lets you brighten for cooking and dim for a relaxed evening without one fixture type doing all the work.
5. Choosing Trim Size and Beam Angle
Fixture size and beam spread both affect how well recessed lighting performs in a compact space.
- 4-inch trim suits most small kitchens, providing enough light without visually dominating a low ceiling.
- 6-inch trim works better for higher ceilings or larger rooms, where a 4-inch fixture might look sparse.
- A wider beam angle (~40°) spreads light more broadly, useful for general ambient coverage.
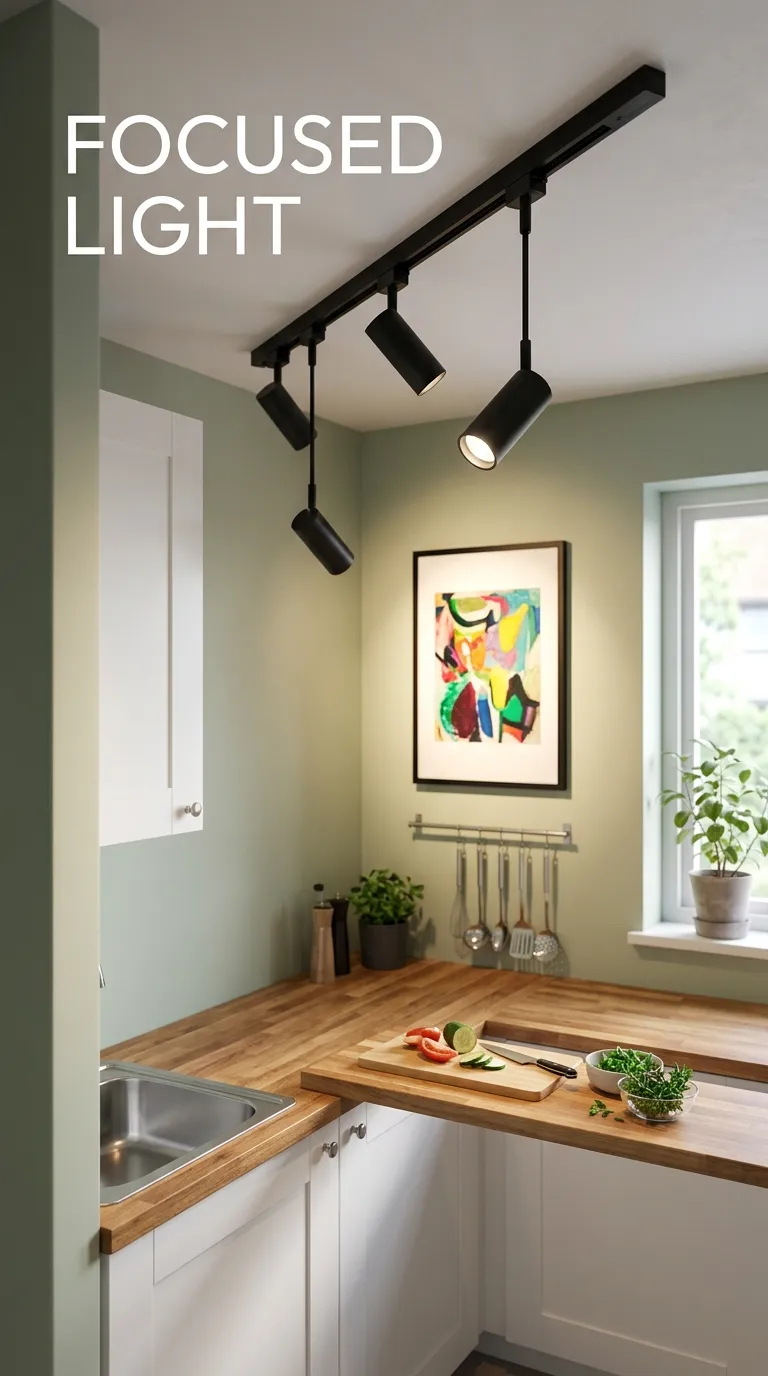
- A narrower beam angle (~25°) concentrates light for task-focused zones like directly over the sink.
- Warm white (2700-3000K) bulbs generally suit small kitchens best, offering a welcoming tone without the harshness of cooler daylight bulbs.
Recessed Lighting Gallery

Frequently Asked Questions
How many recessed lights does a small kitchen need?
Most small kitchens under 100 square feet need only 3-4 well-placed fixtures paired with under-cabinet task lighting, rather than a dense full grid.
How far should recessed lights be from the wall in a kitchen?
Roughly 24-30 inches from the wall keeps fixtures far enough back to avoid shadowing the counter, while still illuminating the workspace directly.
Do I need wet-rated recessed lights above my kitchen sink?
Yes, any recessed fixture installed near a sink or exposed to moisture should be wet or damp-rated, and local code may specify an exact required distance.
Is recessed lighting alone enough to light a kitchen counter?
Usually not on its own — pairing recessed lighting with under-cabinet task lighting fills in shadows that recessed cans set back from the wall can’t reach.
What trim size works best for a small kitchen ceiling?
A 4-inch trim suits most small kitchens and standard 8-foot ceilings without visually overwhelming the space the way a larger 6-inch trim might.
What color temperature is best for kitchen recessed lighting?
Warm white bulbs in the 2700-3000K range generally feel more welcoming in a kitchen than cooler daylight-toned bulbs.
Related Pages
Light the Work, Not Just the Room
Recessed lighting works best in a small kitchen when it’s planned around where you actually cook — the counter, the sink, the range — rather than dropped evenly across the ceiling. Set fixtures back from the wall to avoid shadowing, layer in under-cabinet task lighting, and choose a warm color temperature for a space that feels both functional and welcoming.
For the full electrical picture, see our Electrical Outlet Planning guide next.