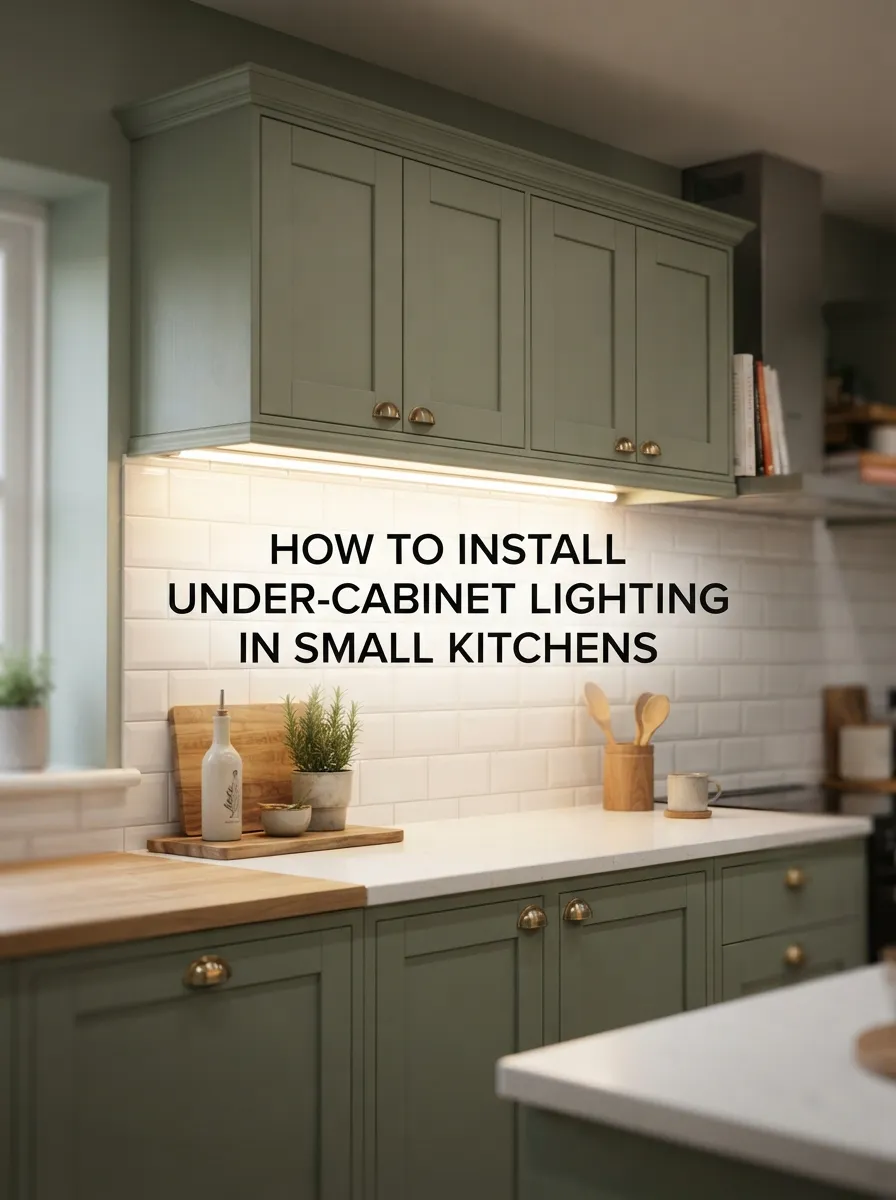
How to Install Under-Cabinet Lighting in Small Kitchens
Under-cabinet lighting is one of the highest-impact, most affordable upgrades available for a small kitchen — it lights the counter exactly where you’re working, something overhead fixtures alone rarely do well. Here’s a step-by-step overview of how to plan and install under-cabinet lighting, plus which option fits your skill level and budget.
⭐ Quick Takeaways
- Plug-in, battery, or puck-style LED strips require no electrician and can be installed in under an hour
- Hardwired under-cabinet lighting looks the most seamless but should be installed or verified by a licensed electrician
- LED strip lighting is the most popular option, offering continuous, even illumination along the full counter
- Warm white (2700-3000K) light temperature generally suits small kitchens best, matching typical overhead fixtures
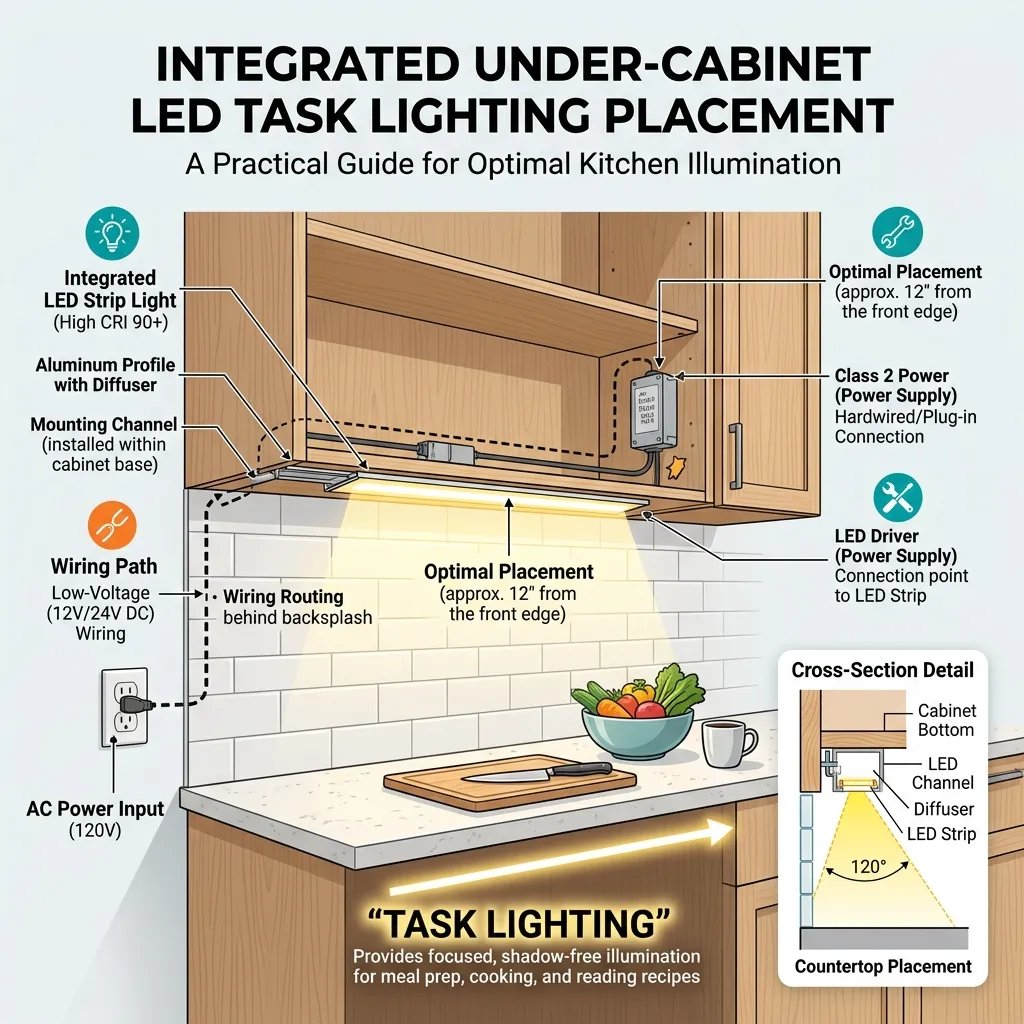
- Position lights toward the front edge of the cabinet for the most even counter coverage
📑 In This Post
Why Under-Cabinet Lighting Matters
Overhead lighting alone often leaves the counter in your own shadow while you’re standing at it — under-cabinet lighting solves this by shining light directly down onto the work surface where you’re actually chopping, reading recipes, or prepping food. In a small kitchen, this is one of the most functional upgrades available for a relatively small cost.
Choosing Your Lighting Option
- Plug-in LED strip lights: The easiest option — no wiring, just plug into a nearby outlet, ideal for renters or a quick weekend project
- Battery-powered puck or strip lights: No cords or outlets needed at all, though batteries require periodic replacement
- Hardwired LED strip lighting: The most seamless, permanent-looking option, but requires an electrician for the wiring connection
- Puck lights: Individual round fixtures spaced along the cabinet, offering a more spotlight-style look than continuous strips
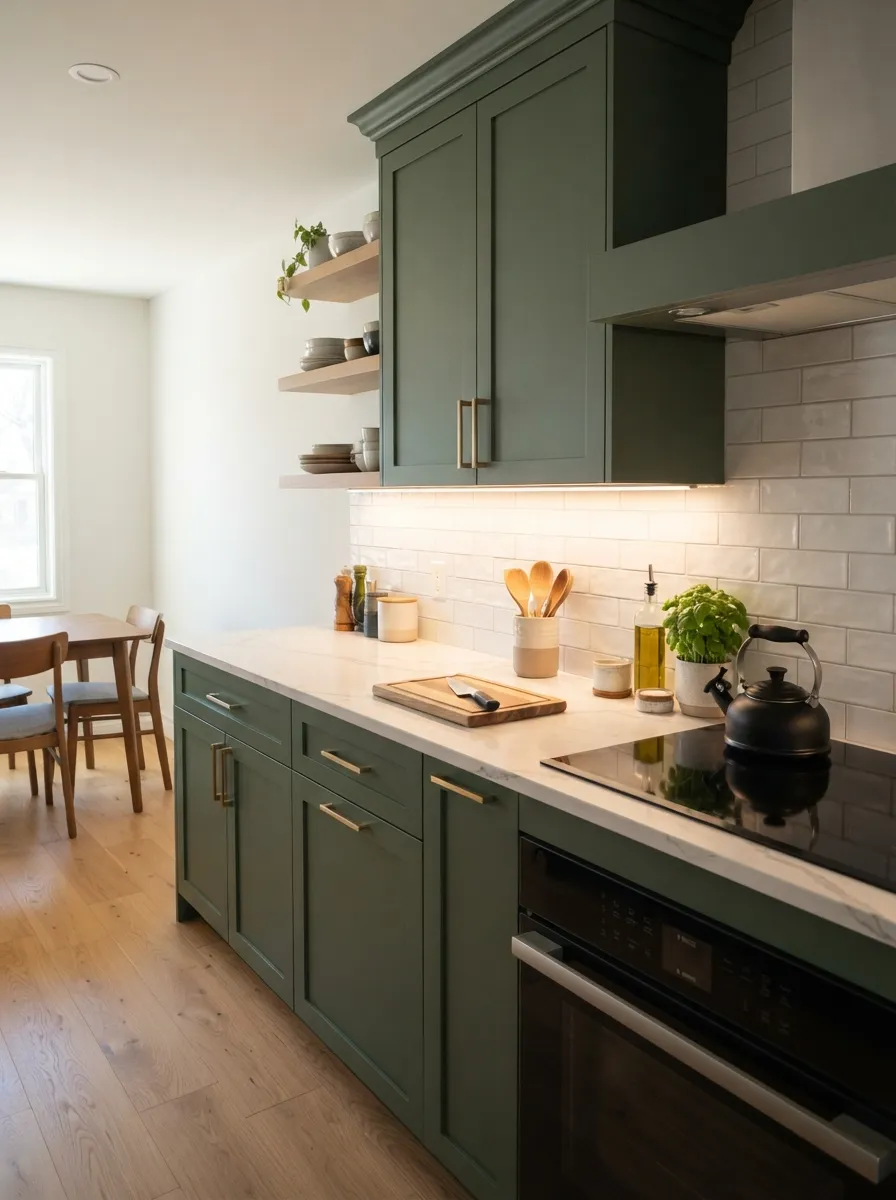
Continuous LED strip lighting provides the most even counter illumination of any under-cabinet option.
Planning Before You Install
- Measure the total length of cabinet runs you want to light, adding a few extra inches per run for connectors and corners
- Decide on power source: plug-in (nearest outlet), battery (no power source needed), or hardwired (requires an electrician)
- Choose a warm white (2700-3000K) color temperature to match most kitchen overhead lighting
- Confirm whether you want dimmable strips, which typically cost slightly more but offer more flexibility
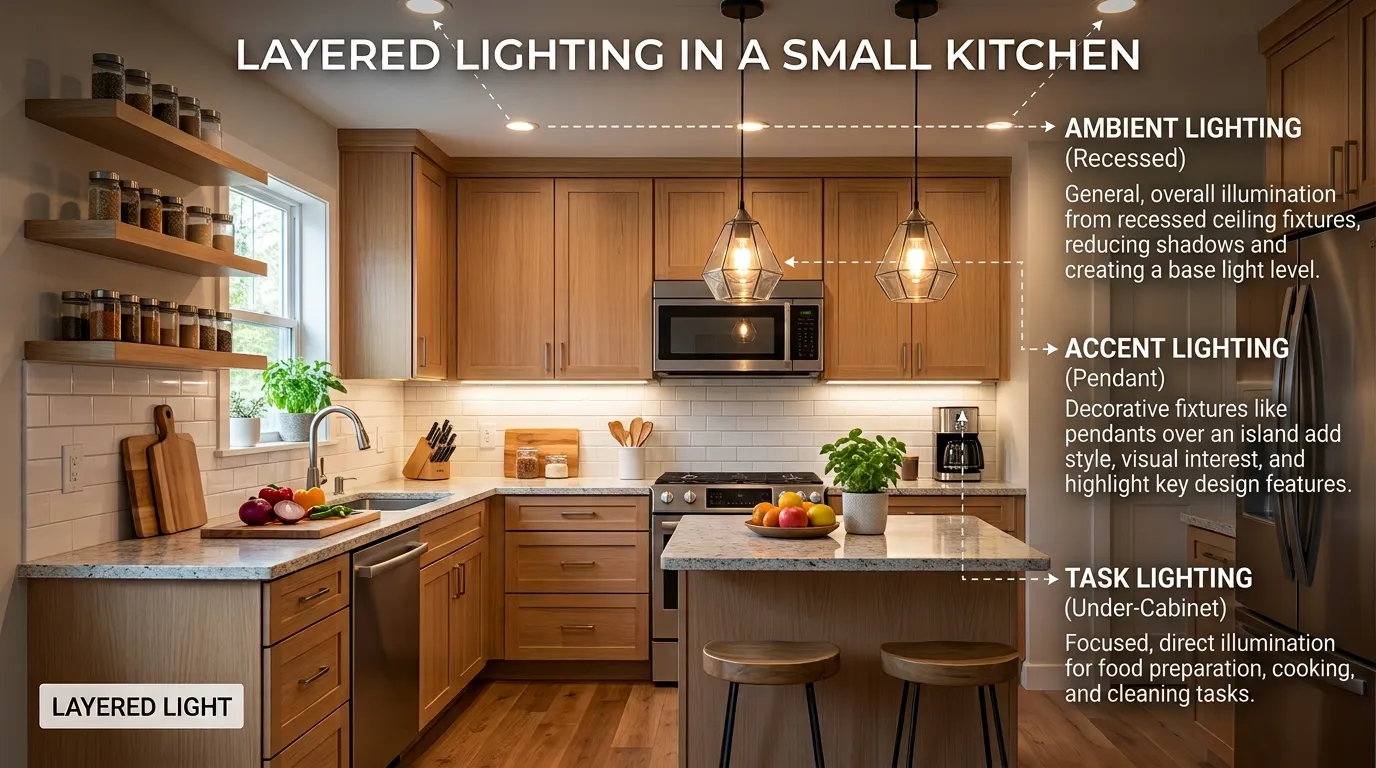
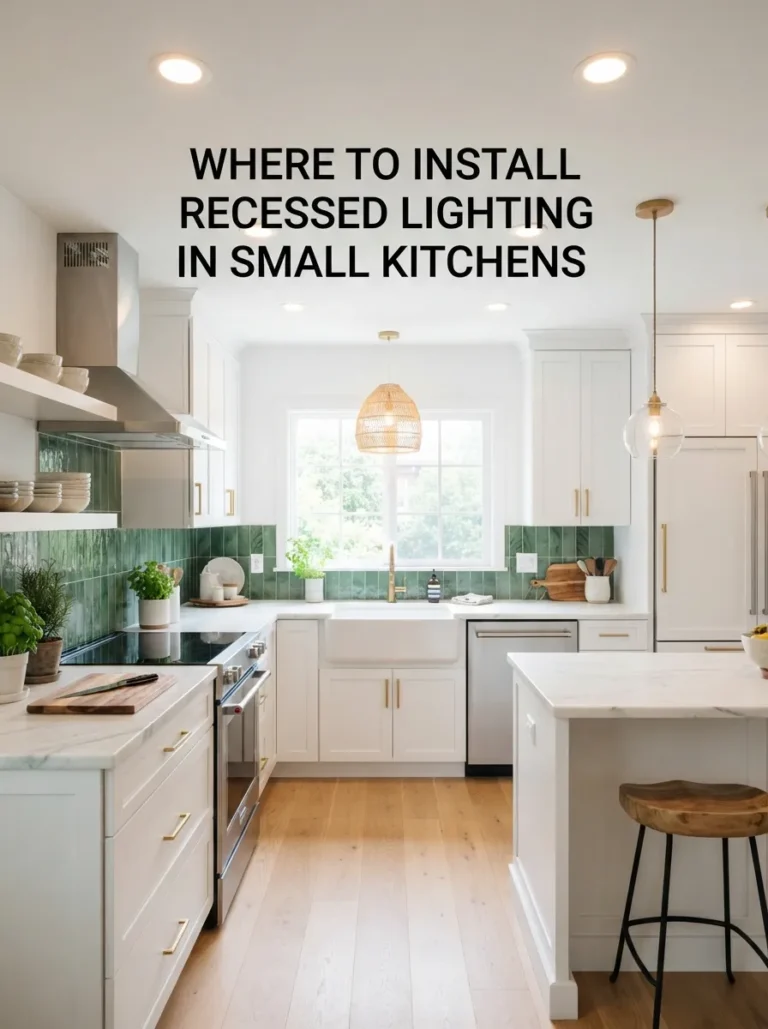
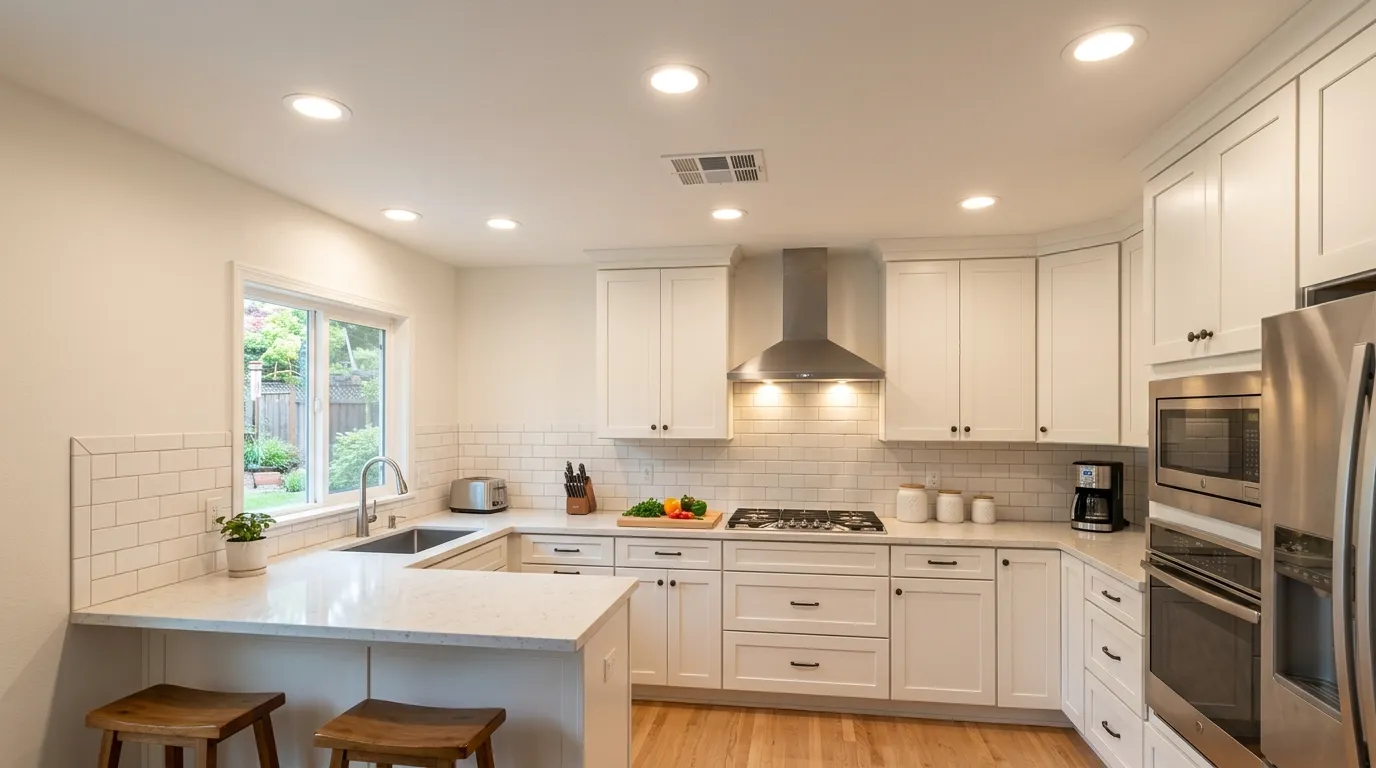
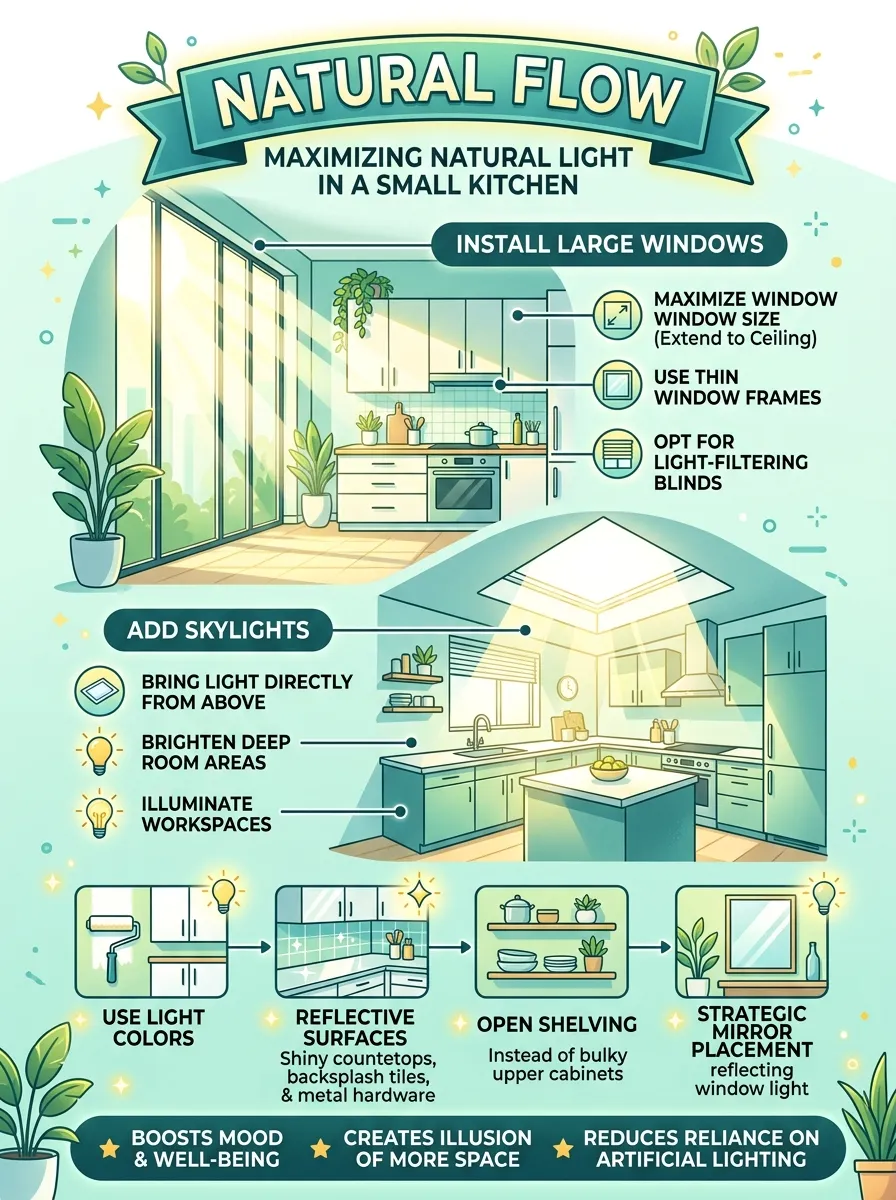
Planning lighting in layers — ambient, task, and accent — gives the best overall result in a small kitchen.
Installation Steps (Plug-In/Battery LED)
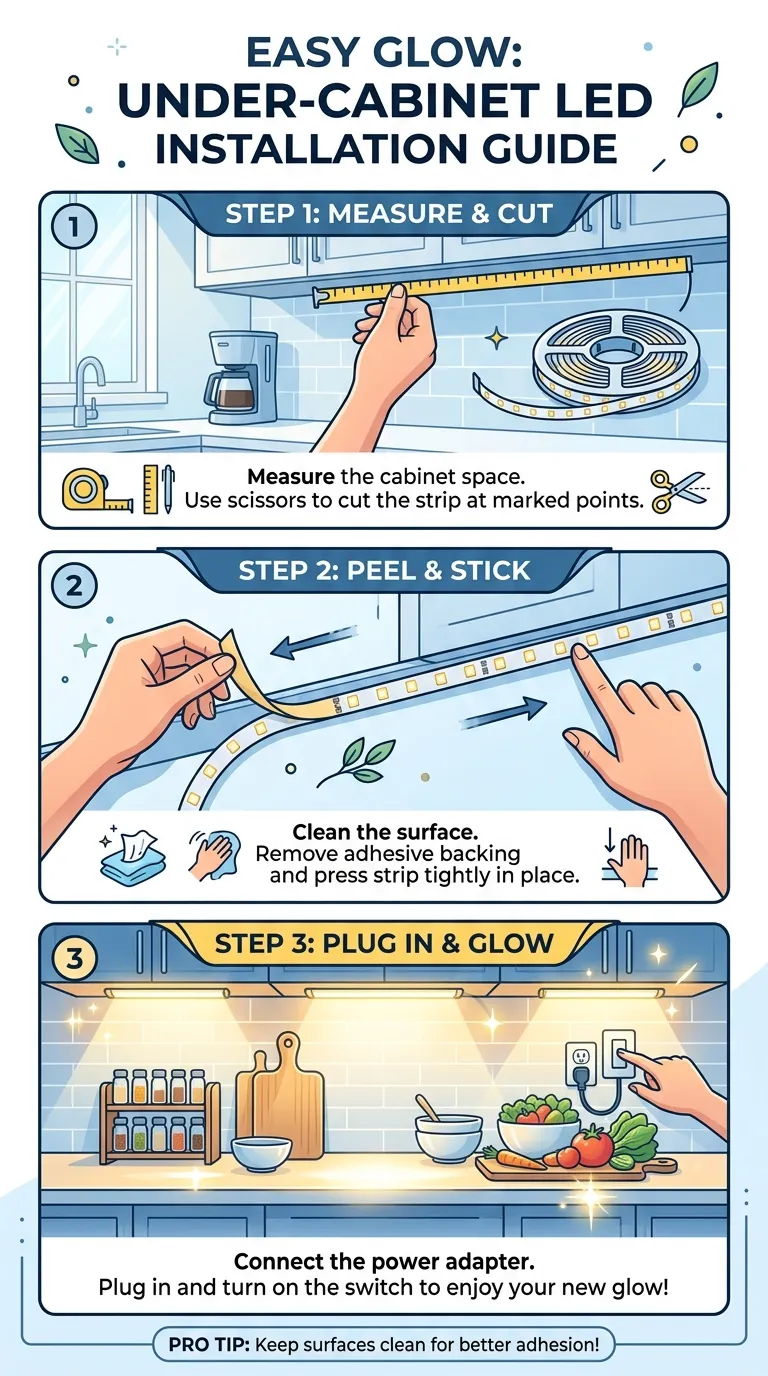
- Clean the underside of the cabinet thoroughly — adhesive strips won’t stick to dust or grease
- Measure and cut the LED strip to length at the marked cut points (most strips have designated cutting lines every few inches)
- Peel the adhesive backing and press the strip firmly along the front third of the cabinet underside, angled slightly toward the counter edge
- Connect strip sections with the included connectors if lighting multiple cabinet runs
- Route the cord along the cabinet’s back edge (for plug-in models) to the nearest outlet, using cord clips to keep it tidy
- Test the lights before fully committing the adhesive, since strips are difficult to reposition once firmly pressed down
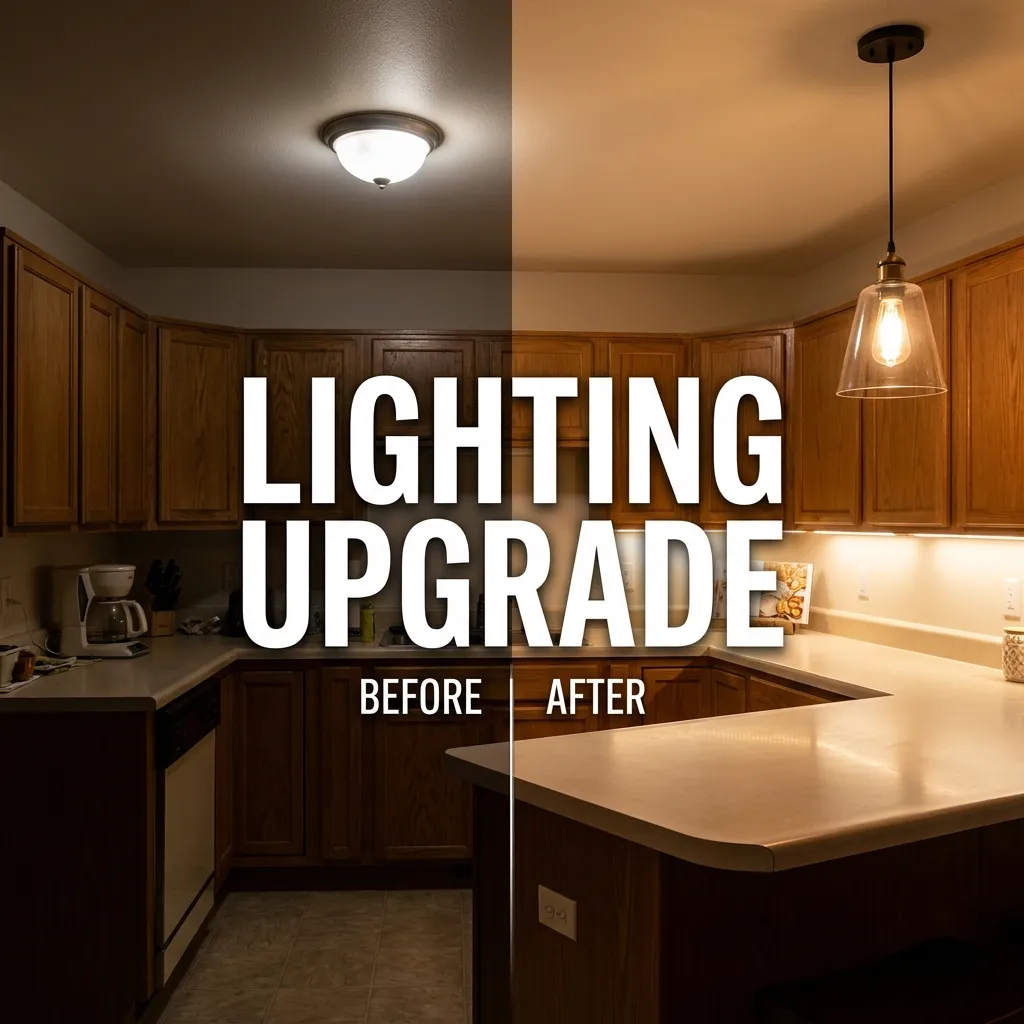
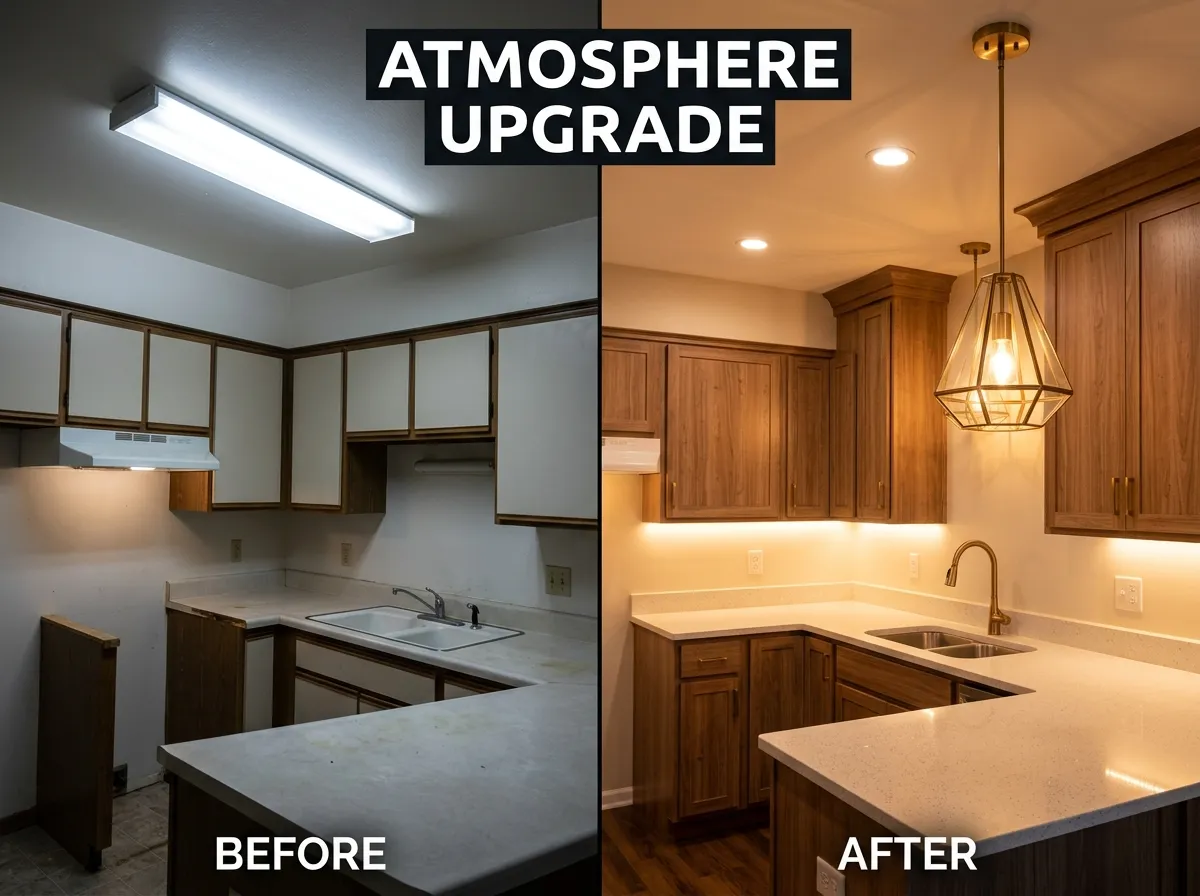
Even a simple plug-in LED strip installation delivers a visible before-and-after transformation.
When to Choose Hardwired
If you want the cleanest possible look with no visible cords, hardwired under-cabinet lighting connected to a wall switch is worth the extra step — but this involves working with your home’s electrical system and should be installed or at minimum verified by a licensed electrician.
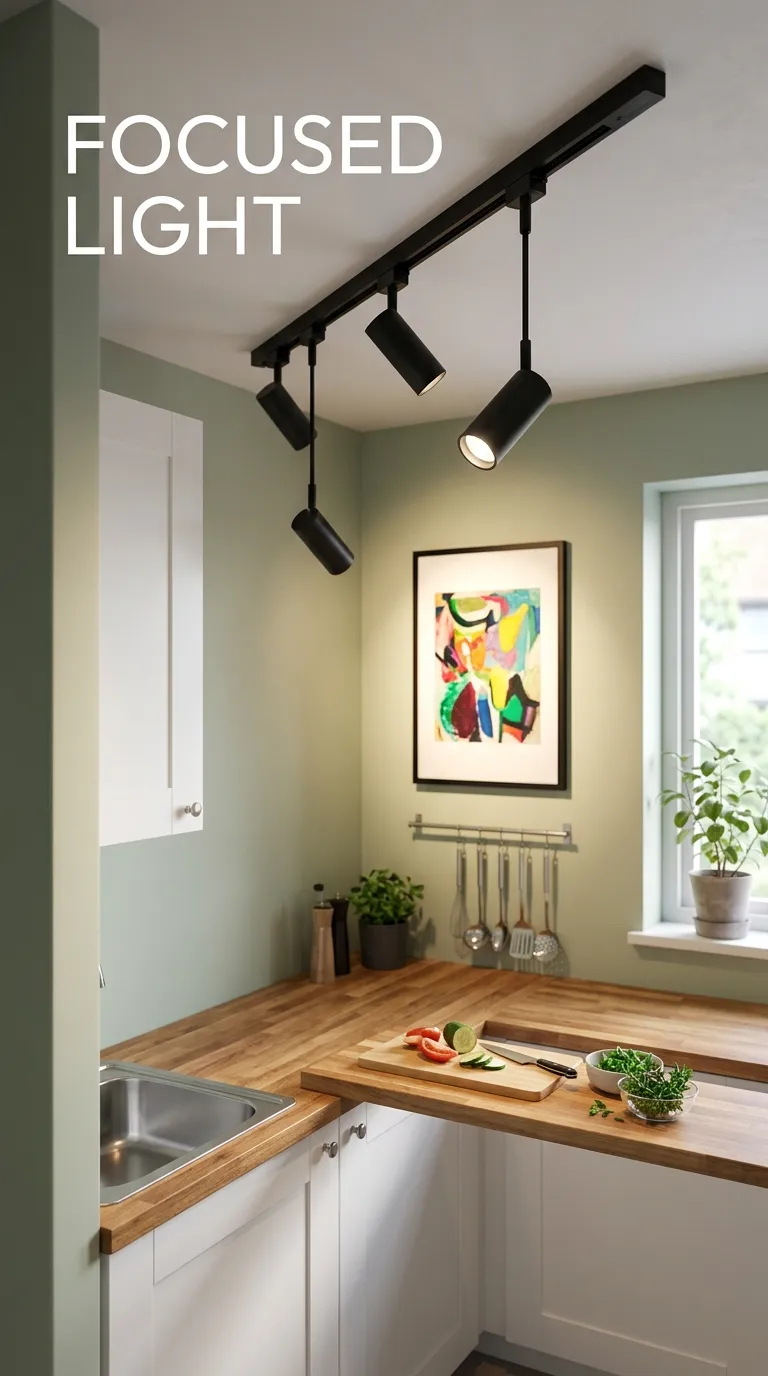
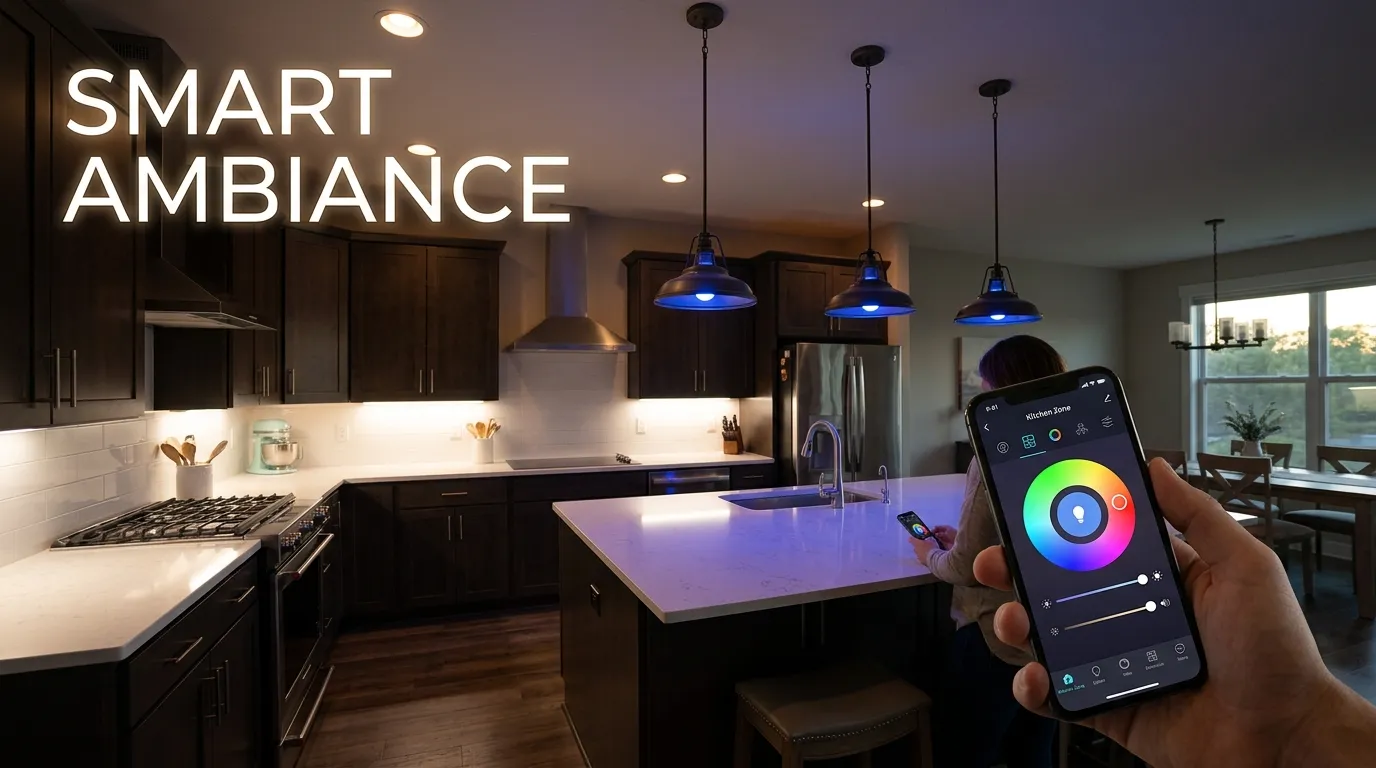
Hardwired and track-style lighting options offer a more permanent, cord-free finish for a small kitchen.
Mistakes to Avoid
- Skipping the surface cleaning step — adhesive strips fail quickly on dusty or greasy cabinet undersides
- Mismatched light color temperature between under-cabinet and overhead fixtures, which can look disjointed
- Positioning the strip too far back on the cabinet, which shines light against the wall instead of onto the counter
- Attempting hardwired installation without electrical experience — this is the one step worth hiring a professional for
Frequently Asked Questions
Not for plug-in or battery-powered LED strips, which can be installed without any wiring. Hardwired lighting connected to a wall switch should be installed or verified by a licensed electrician.
Warm white, generally 2700-3000K, matches most kitchen overhead lighting and keeps the room feeling cohesive rather than mismatched.
Toward the front third of the cabinet underside, angled slightly toward the counter edge, for the most even coverage of the work surface.
Yes, plug-in or battery-powered LED strips require no permanent modification and can typically be removed without damaging cabinets, making them renter-friendly.
A plug-in or battery-powered LED strip installation typically takes under an hour for a standard small kitchen cabinet run.
It’s optional but worth considering — dimmable strips cost slightly more but offer more flexibility for different times of day and tasks.
Light Where It Actually Helps
Under-cabinet lighting solves a problem overhead fixtures alone can’t — illuminating the exact spot where you’re chopping, reading recipes, or plating food. A plug-in or battery LED strip is a genuinely simple weekend project, while a hardwired setup offers the cleanest look if you’re ready to bring in an electrician. Either way, it’s one of the best-value upgrades a small kitchen can make.
Explore More Small Kitchen Lighting Ideas