30 Small Kitchen Food Storage Container Ideas
Quick Answer
The best food storage container ideas for a small kitchen are vertical and standardized. Keep one or two matching container families that nest or stack, store lids upright in a rack or drawer divider, and give containers one dedicated zone, such as a deep drawer, a pull-out base cabinet, or a tiered shelf. Most small kitchens run well on 8 to 12 containers.
Food storage container ideas for a small kitchen have to solve three problems at once: containers that never match their lids, stacks that collapse the moment you pull one from the bottom, and cabinets that are already full. This guide gives you 30 specific food storage container ideas for small kitchens, from a $10 lid rack to a toe-kick drawer, plus a five-minute reset to run before you buy anything, a material comparison, and a chooser table so you can match the right fix to your actual problem. Every idea is chosen for compact kitchens where a single cabinet often has to do the work of three.
Quick Takeaways
- Declutter and match lids to bases before buying any organizer; the best system for a bad collection is still a bad system
- Square and rectangular containers use space far better than round ones because they stack and nest without gaps
- Lids are the real problem: store them upright in a rack, file sorter, or drawer divider, never loose in a pile
- Containers should live in one zone, ideally a deep drawer or pull-out cabinet, not scattered across the kitchen
- Most 1 to 2 person households need only 8 to 12 containers; 3 to 4 person households usually do well with 12 to 18
- Budget fixes start around $8 to $25; built-in pull-outs and toe-kick drawers cost more but add capacity
What’s In This Guide
- Why Food Storage Containers Take Over Small Kitchens
- The 5-Minute Container Reset (Do This First)
- Glass, Plastic, Stainless or Silicone: Which Suits a Small Kitchen?
- 30 Small Kitchen Food Storage Container Ideas
- Quick Chooser: Best Idea for Your Problem
- How Long Food Can Stay in Containers (USDA Guidance)
- Mistakes to Avoid
- Frequently Asked Questions
Why Food Storage Containers Take Over Small Kitchens
Food storage containers are one of the few kitchen categories that grows without anyone deciding to buy more. A set arrives as a gift, takeout containers get kept “just in case,” and every replacement lid that doesn’t quite fit starts a second collection. Three things make this especially painful in a small kitchen.
Mismatch. Containers and lids in many different shapes and brands can’t be stored as a unit, so each one needs its own space and a lot of digging.
Shape waste. Round containers leave dead air between them. Square and rectangular ones stack edge to edge, which is why almost every compact-kitchen system starts with a standardized footprint.
Depth. A typical lower cabinet is deep, and containers pushed to the back become invisible. When you can’t see something, you buy a duplicate, and the pile grows.
The good news is that containers are among the fastest things to fix. Most of the ideas below take less than an hour, and several cost under $20.
The 5-Minute Container Reset (Do This First)
Before buying a single organizer, run this reset. It usually frees up a third of the space you thought you were missing.
- Pull everything out. Containers, lids, jars, takeout tubs, and freezer bags, all onto the counter.
- Match every base to a lid. Anything without a partner goes in the recycling or donation bin.
- Retire the worn-out. Warped bases, cracked lids, lids that no longer seal, and containers that stay stained or smelly after washing are done.
- Keep a core set. As a general guideline, 8 to 12 containers in two or three sizes suits a 1 to 2 person household, and 12 to 18 suits a family of 3 to 4. Adjust for how often you meal prep.
- Measure the home you’re giving them. Record the shelf height, drawer depth, and cabinet width before you shop. Organizers that look slim online are often bulkier than expected.
💡 Pro Tip: Choose containers by footprint, not by color or set size. Buying two or three matching rectangles in different heights lets you nest and stack everything with a single lid size family.
Glass, Plastic, Stainless or Silicone: Which Suits a Small Kitchen?
| Material | Weight and stacking | Microwave and oven | Best for |
|---|---|---|---|
| Glass | Heavy; stacks well when the footprint matches | Glass base is generally microwave and oven safe (check the label); lids are often plastic and not oven safe | Reheating, pantry canisters, a matching display set |
| BPA-free plastic | Lightest; many sets nest to save space | Check for a microwave-safe symbol; can stain or warp over time | Lunch packing, kids, freezer storage |
| Stainless steel | Light and durable; stacks cleanly | Not microwave safe | Lunch boxes, fridge storage, camping |
| Silicone (collapsible) | Folds flat, saving the most space | Many are microwave safe; check the label | Tiny kitchens, overflow and leftovers |
If cabinet space is your tightest limit, a mixed approach works well: a few glass containers for reheating and everyday leftovers, plus collapsible silicone or nesting plastic for bulky or occasional use.
30 Small Kitchen Food Storage Container Ideas That Actually Work
Cabinet and Shelf Ideas (1–8)
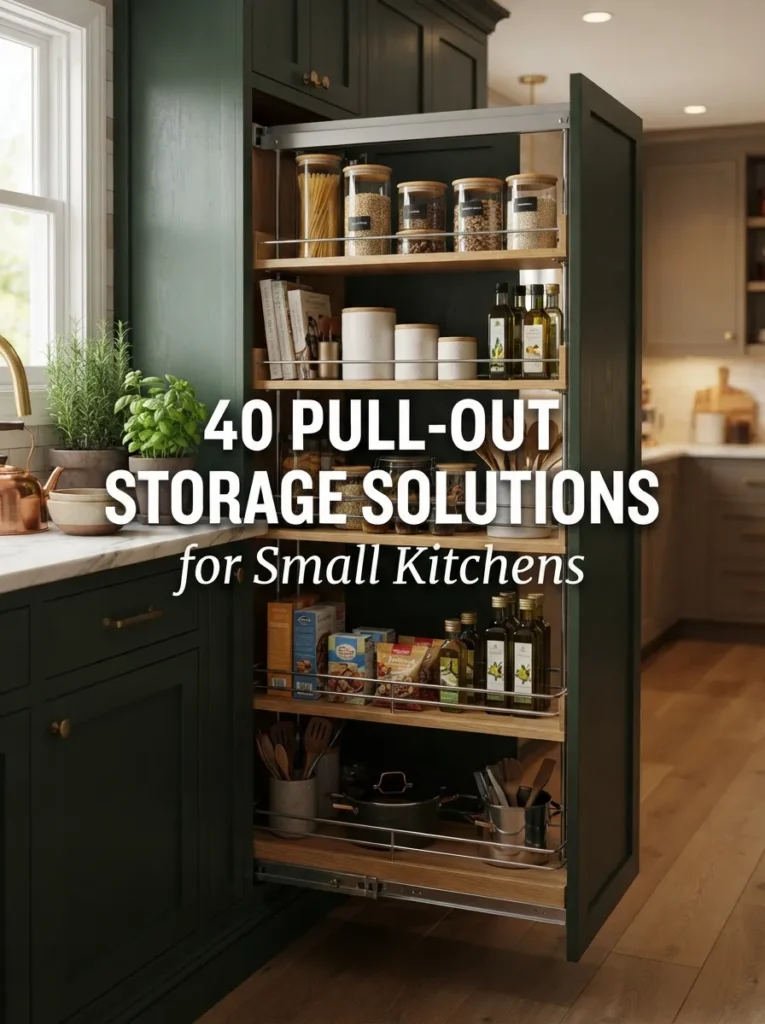
1. Pull-Out Base Cabinet Organizer
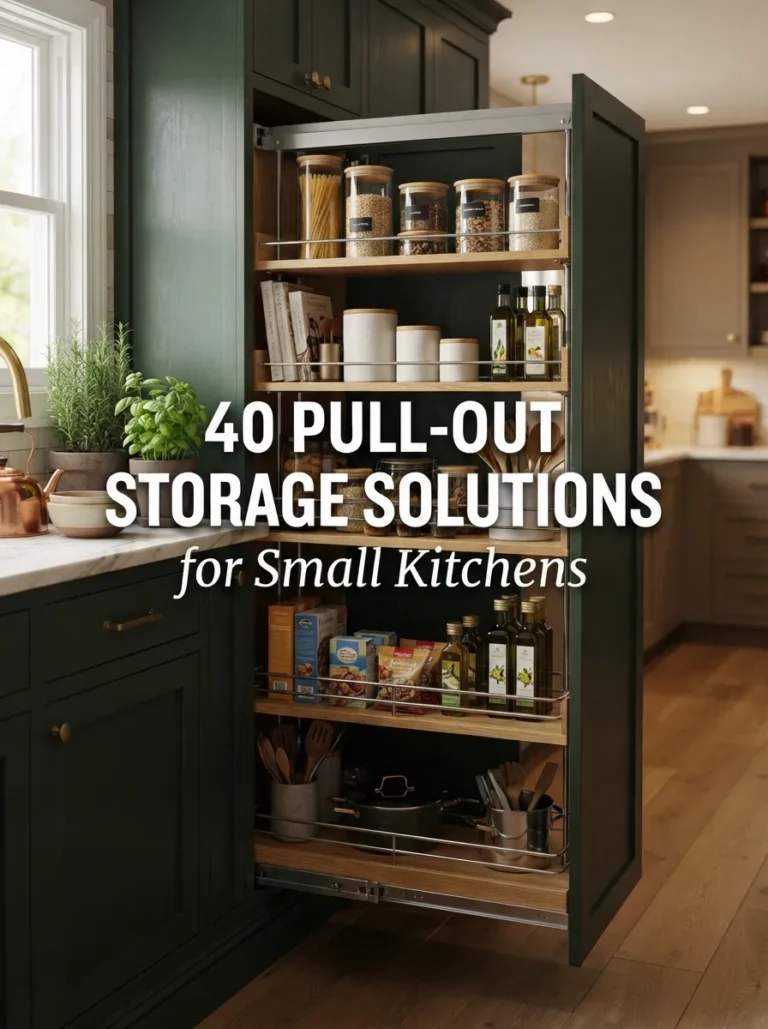
A slide-out wire or solid shelf mounted in a lower cabinet brings containers to you instead of making you kneel and reach into the back. This is the strongest single upgrade if you have one spare base cabinet, and many kits can be installed with basic tools. Measure the cabinet opening width, not the inside width, since the door frame often narrows it.
2. Tiered Shelf Risers
A two-step riser raises the back row so you can see and grab a container without moving the front one. It’s a $10 to $25 fix that turns one shelf into two visible rows, and it’s renter-friendly because nothing gets installed.
3. Vertical Lid Rack or Desktop File Sorter
Standing lids on edge like files is the simplest answer to the tupperware lid storage problem. A plain desktop file sorter works as well as a purpose-made lid rack, and it often costs less. Keep one slot per lid size so you find the right one fast.
4. Adjustable Lid Organizer Inside the Cabinet
A rack with movable dividers handles mixed lid sizes, which fixed slots can’t. Set it at the front of a shelf so lids are the first thing you see, with matching bases behind them.
5. Nest the Bases, Park the Lids Separately
Nesting bases by size takes up a fraction of the space of storing them with lids snapped on. Pair this with a lid rack from idea 3 or 4. It’s the most space-efficient setup for a standard container set, as long as you keep the lids matched to the stack.
6. Square-Footprint Stackable Set
Containers with the same square or rectangular footprint stack three or four high with no wasted air. If you’re replacing a mismatched collection, this is the best place to spend money. Look for lids that snap onto the stack so a tower stays stable.
7. Bin-in-Bin Zones
A clear bin per size (small, medium, large) turns a shelf into three drawers. Slide a bin forward, take what you need, and slide it back. Clear bins also let you spot a missing piece at a glance.
8. Lazy Susan in a Deep or Corner Cabinet
A turntable keeps rarely reachable containers from disappearing into the back of a corner. It works best for round or tall items. If corner cabinets are your problem area, see our guide to small kitchen corner cabinet solutions.
Drawer Ideas (9–13)
9. Deep Drawer With Adjustable Dividers
Standing containers on edge in a drawer, like files in a cabinet, means everything is visible from above and nothing is buried. A drawer at least 6 inches deep works for most containers. For more layouts, see our small kitchen drawer organization systems.
10. Shallow Top Drawer for Lids Only
Lids lie flat in rows with dividers, and matching bases sit in the cabinet below. This splits the two pieces by shape, which solves the usual problem of a tall stack versus flat plastic.
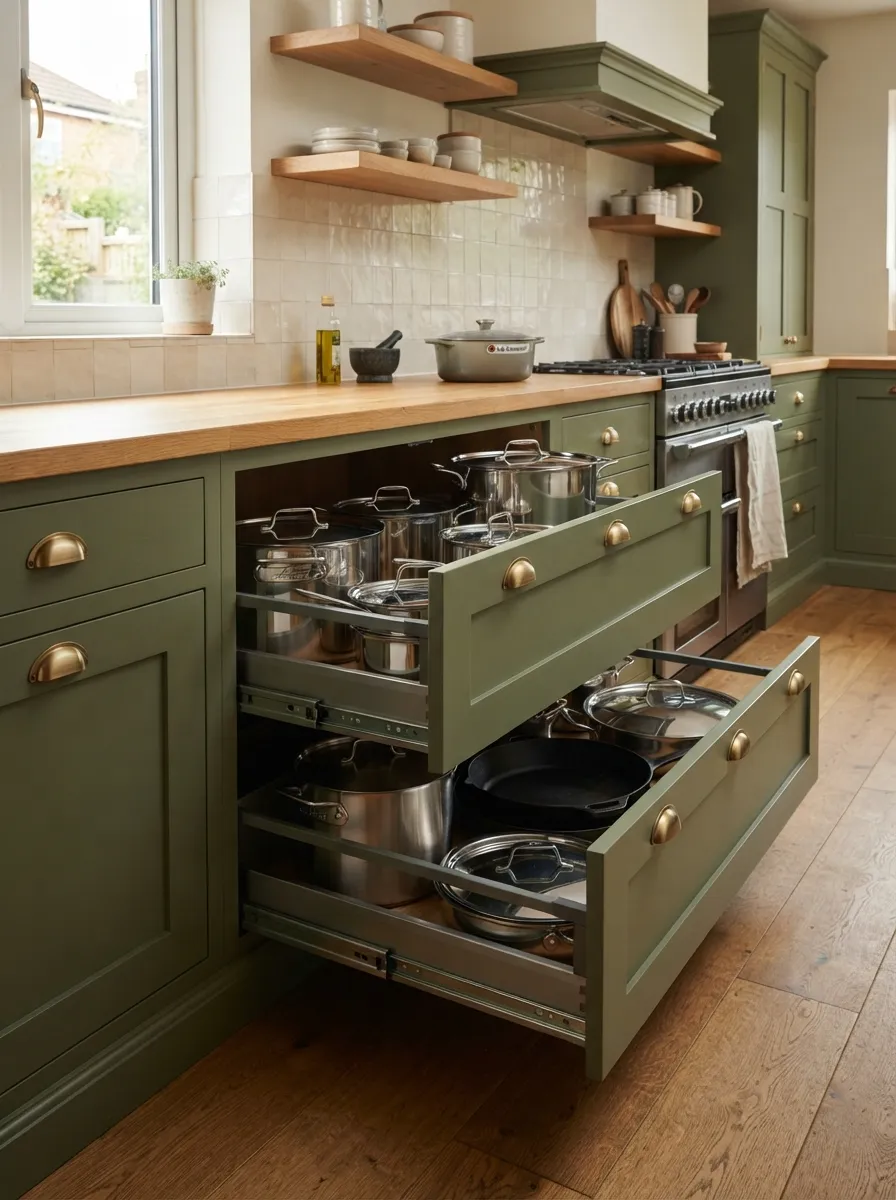
11. Toe-Kick Drawer
The strip of space below a base cabinet is usually about 4 inches high and completely unused. A toe-kick drawer can hold flat containers, lids, or freezer bags. It’s a built-in option, so plan it during a remodel or refacing project. See our small kitchen cabinet design guide for more on built-in storage.
12. Meal-Prep Drawer
Dedicate one drawer to the containers you actually pack lunches in, with the lids beside them. Everything for grab-and-go is in one place, which cuts the number of cabinets you open on a busy morning.
13. Open-Front Stackable Bins Instead of Drawers
If you don’t have a spare drawer, two or three stackable open-front bins on a shelf behave like drawers. Pull the bin out, pick a container, and slide it back.
Door and Wall Ideas (14–18)
14. Inside-Cabinet-Door Wire Rack
A slim wire rack mounted on the back of a cabinet door holds lids upright using space that is otherwise wasted. Check that the rack clears the shelves inside before you mount it.
15. Inside-Door File Holder
A flat magazine or file holder on the inside of a door holds thin, flat lids and cutting-board-size items. It uses only 2 to 3 inches of depth, which makes it a good fit for shallow cabinets.
16. Over-the-Door Pantry Rack
A rack hung over a pantry or closet door holds small containers, jars, and bags. Weight limits matter, so keep heavier glass on the lower shelves.
17. Wall-Mounted Shelf for a Matching Glass Set
If your containers are all the same, an open shelf turns them into a tidy display. Mount it away from the stove, since grease and steam settle on anything left in the open.
18. Slim Rolling Pantry Between the Fridge and the Wall
Many kitchens have a gap 6 to 10 inches wide that no cabinet fits. A slim rolling tower slides into it and gives you narrow shelves for containers, jars, and cans. It’s one of the best ways to add storage without touching a cabinet.
Pantry and Dry-Food Containers (19–25)
19. Square Airtight Canisters for Flour, Sugar and Rice
Square canisters stack and sit edge to edge, while round ones leave gaps. Look for a gasket seal and a wide opening so you can scoop. Measure shelf height first, since a canister that is too tall can cost you a whole row.
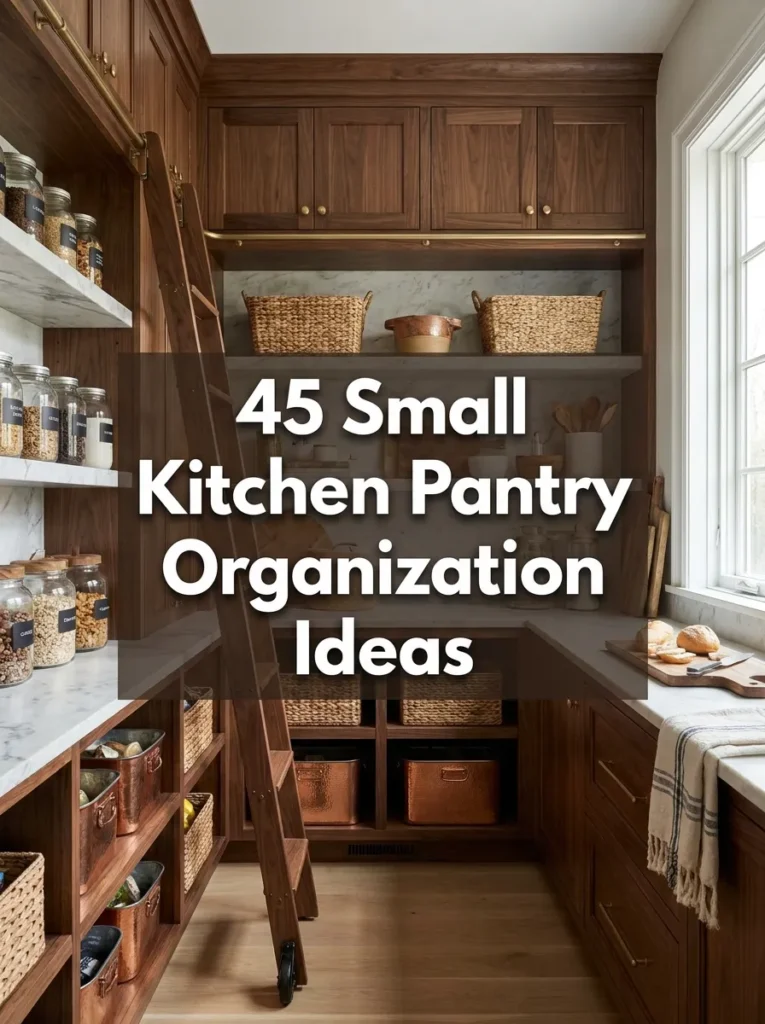
20. Clear Pantry Bins by Zone
Group by use: baking, grains, snacks, breakfast. A labeled bin per zone means you pull out one container instead of searching a shelf. For more pantry layouts, see how to create a functional pantry without space.
21. Cereal and Dry-Goods Dispensers
Pour-spout dispensers keep cereal, pasta, and oats fresh and use less shelf space than the original boxes. Decant only what fits, and keep the original package’s date or label with the container.
22. Mason Jar Food Storage for Bulk Items
Wide-mouth jars suit beans, lentils, oats, and nuts, and they stack neatly on a shelf. Add a date label when you fill them. Glass jars are heavy, so mount shelves into studs or keep jars on a sturdy base.
23. Ventilated Bins for Potatoes and Onions
Potatoes and onions keep best in a cool, dark, ventilated spot, and they should be stored apart, since keeping them together can speed spoilage. A stackable ventilated bin for each fits under a counter or in a low cabinet.
24. A Baking Supply Container Set
Decant flour, sugar, baking powder, and chocolate chips into matching containers with a level scoop in each. Store them together on one shelf near your mixer so baking starts in one reach.
25. Tea, Coffee and Sugar Canister Trio
Three small canisters beside the kettle or coffee maker turn an everyday routine into a single zone. Choose a set that stacks if counter space is tight.
Fridge, Freezer and Leftovers (26–28)
26. Clear Fridge Bins and a Lazy Susan
Group leftovers in a clear bin or on a turntable so nothing hides behind a jar. Visible food gets eaten, which cuts waste.
27. Flat-Freeze and File Freezer System
Freeze soups and sauces in zip bags laid flat, then stand them like files in a bin once solid. For rigid containers, leave headspace so liquids can expand as they freeze.
28. An “Eat Me First” Shelf
Dedicate one clear bin or one fridge shelf to anything that needs using soon, and put a date label on each container. It takes ten seconds a day and replaces the guesswork behind most wasted leftovers.
Whole-Kitchen Systems (29–30)
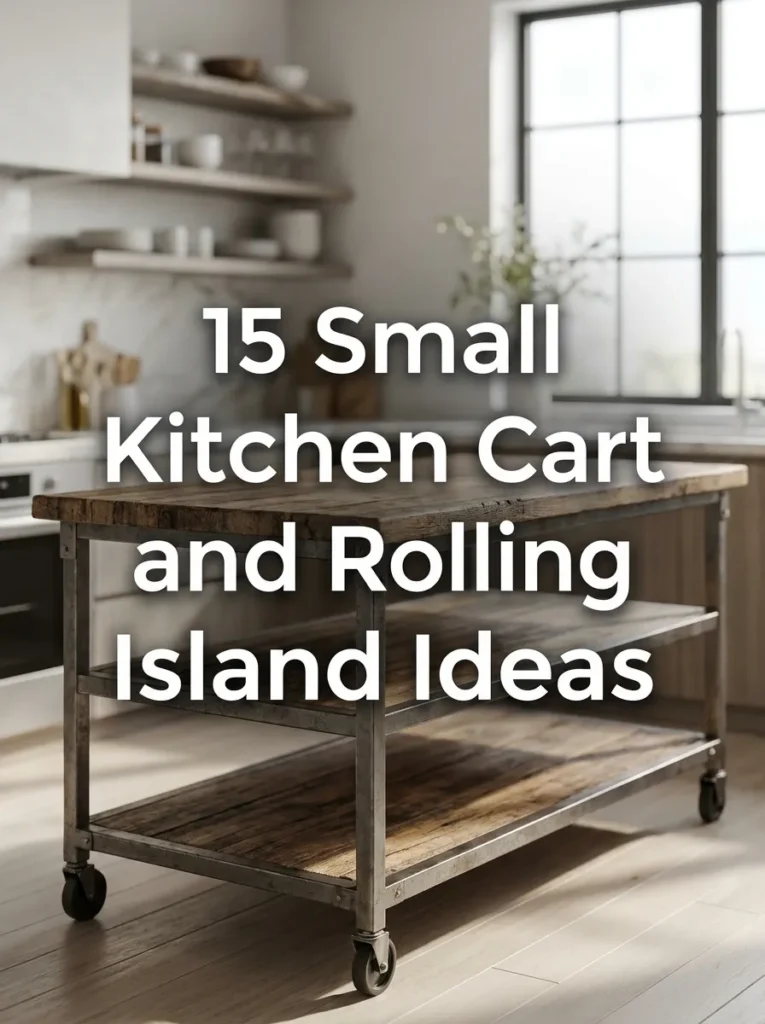
29. Rolling Cart Container Station
A narrow cart, 6 to 10 inches wide, beside the fridge or at the end of a counter becomes a mobile station for containers, lids, and lunch supplies. Roll it out when you pack lunches and tuck it away when you don’t. If you have room for one, see our kitchen island designs for small kitchens for cart-style options.
30. The One-In, One-Out Rule With Labels
The best system is the one you keep up. Whenever you add a container, retire one. Label bins and drawer sections so everyone in the household returns things to the right place. This habit matters more than any organizer you buy.
Quick Chooser: Best Idea for Your Problem
| Your problem | Best ideas | Typical cost |
|---|---|---|
| Lids everywhere | 3, 4, 14, 15 | $8–$25 |
| Containers lost at the back of cabinets | 1, 2, 7, 8 | $15–$150 |
| No spare cabinet or drawer | 16, 18, 29 | $25–$80 |
| Pantry and dry food chaos | 19, 20, 22 | $20–$60 |
| Leftovers going to waste | 26, 27, 28 | $10–$30 |
| Planning a remodel | 9, 11, 1 | Varies by cabinet maker |
Costs are typical retail ranges and vary by brand and region.
How Long Food Can Stay in Containers (USDA Guidance)
Good storage only helps if the food is still safe to eat. The USDA’s food safety guidance says to refrigerate cooked food within 2 hours (1 hour if the room is above 90°F), and to eat refrigerated leftovers within 3 to 4 days. Food kept frozen at 0°F stays safe indefinitely, although quality drops over time. Dividing large batches into shallow containers helps them cool faster.
💡 Pro Tip: Write the date on masking tape on every lid. It costs almost nothing and ends the “how old is this?” question.
How to Choose Based on Your Kitchen
Kitchens with one spare base cabinet get the biggest return from a pull-out organizer (idea 1) plus a lid rack (idea 3).
Apartment and rental kitchens do well with risers, bins, file sorters, and a rolling cart, since none of them require drilling or permanent changes.
Kitchens with deep but narrow cabinets benefit most from bin-in-bin zones (idea 7) and tiered risers.
Kitchens being remodeled should plan a deep drawer or toe-kick drawer into the cabinet order, since adding one later costs much more.
Households that meal prep should dedicate one drawer or bin to prep containers (ideas 12 and 13).
Mistakes to Avoid
Buying organizers before decluttering. An organizer that holds 40 mismatched containers still holds 40 mismatched containers. Reset first.
Mixing round and square. Round containers waste about as much space as the container itself holds in dead air between them. Standardize where you can.
Keeping lids without bases. Orphan lids are the single biggest source of container clutter. If its partner is gone, let it go.
Microwaving without checking the label. Not every container or lid is microwave safe. Look for the symbol and follow the manufacturer’s instructions.
Letting containers spread across multiple cabinets. One zone, one system. If you can’t find a lid in under ten seconds, the setup isn’t working yet.
Frequently Asked Questions
What is the best way to store food storage containers in a small kitchen?
The best way is to store them vertically and in one zone. Nest bases by size, stand lids upright in a rack or drawer divider, and keep everything in a single deep drawer, pull-out cabinet, or tiered shelf so nothing gets buried.
How do you store tupperware lids in a small kitchen?
Stand them on edge in a file sorter, an adjustable lid rack, or a drawer with dividers. Inside-door racks work well for shallow cabinets. Keep lids sorted by size so you can find a match fast.
How many food storage containers do I need?
Most 1 to 2 person households do well with 8 to 12 containers in two or three sizes, and families of 3 to 4 usually do well with 12 to 18. Adjust for how often you meal prep or store leftovers.
Is glass or plastic better for small kitchens?
Glass is better for reheating and long life, but it’s heavier. Plastic is lighter and stacks easily but can stain or warp. Many small kitchens use a mix, with glass for everyday leftovers and nesting or collapsible containers for overflow.
Should I store lids on the containers or separately?
Separately is usually more space-efficient. Nest the bases and keep lids upright in a rack. If you prefer lids on, choose a set designed to stack with the lids attached.
How do I organize food storage containers with no cabinet space?
Use vertical and mobile spaces: an inside-door rack, an over-the-door pantry rack, a slim rolling pantry in a gap by the fridge, or a narrow cart.
What are the best food storage container ideas for a small kitchen on a budget?
A file sorter for lids, a tiered riser, clear bins, and stackable open-front bins each cost about $8 to $25 and need no installation.
How do I keep stacked containers from falling over?
Use a matching footprint so the stack is stable, keep stacks to three or four containers, and put the heaviest at the bottom. A bin-in-bin setup also keeps a stack from toppling when you pull one out.
How often should I declutter my containers?
Once or twice a year. Check for orphan lids, warped bases, and stained containers, and apply a one-in, one-out rule after that.
Can I store food storage containers in a drawer?
Yes. A drawer at least 6 inches deep with adjustable dividers lets you stand containers upright so everything is visible from above.
Related Pages
Plan built-in drawers and pull-outs into your cabinet layout.
35 Small Kitchen Drawer Organization Systems
More ways to divide and organize drawers.
How to Create a Functional Pantry Without Space
Pantry ideas that work without a dedicated closet.
How to Maximize Vertical Space in Small Kitchens
Use walls and cabinet height to add storage.
Final Thought
The best food storage container ideas for a small kitchen don’t add more storage. They make the storage you already have easier to use: fewer containers, a matching footprint, lids stored upright, and one dedicated zone. Start with the five-minute reset, pick two or three ideas from this list that fit your space, and put the rest on hold. A calm container cabinet is one of the quickest, cheapest wins in any small kitchen.
Want to organize the rest of your kitchen storage too? Explore Small Kitchen Cabinet Design
Sources
- USDA Food Safety and Inspection Service, leftovers and food safety guidance (FoodSafety.gov)
- Container material and safety guidance: always follow the manufacturer’s label for microwave, oven, and dishwasher use